Here's how to build the first piece of the 35mm Lens Adapter that you will need: the Wax-Ground Glass. (Or as I will hereto refer to it: the Wax-GG)
Materials:
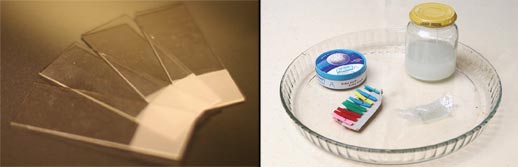
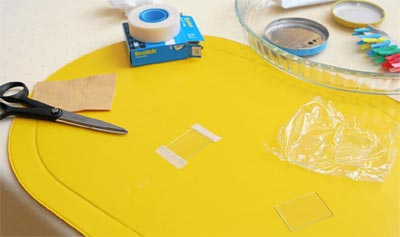
Microscopic Slides – 76 mm x 26 mm x 1 mm (cut to 38 x 26 mm)
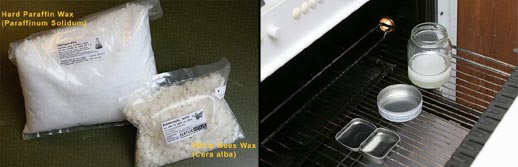
Hard Paraffin Wax - 95 grams (Paraffinum durum, Paraffinum solidum)
White Bees Wax – 5 grams (Cera alba)
Jar
Some clothespins
Metal box
Tape - 0.05mm thick (Scotch 3M or other tape between 0.05 – 0.10mm)
Oven with “circulating air"
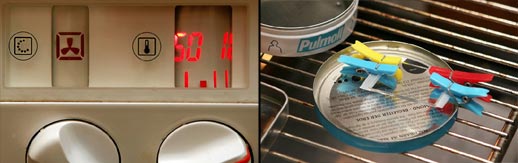
1. Turn on your oven and use “circulating air” at 100°C.
Fill the jar with 95 grams of hard paraffin wax and 5 grams of white bees wax and put it together with the metal box into the oven. Close the oven and let the wax melt. (15-20 minutes)
2. Prepare the microscopic slides.
Clean the slides carefully with glass cleaner. Cut some tape strips (I used 2 for each side) and put it on the edges of the first slide.
Place the other slide over it to create a sandwich with a gap of 0.10 mm. Fix the glass-sandwich with 4 clothespins (its better to use wooden ones because of the
high temperature).
3. Warm Up the glass-sandwich!
Now the wax should have melted. Fill it into the metal box and adjust the oven down to 70°C. Put the glass-sandwich into the oven beside the metal box to warm-up for 7 minutes. (This is very important. Otherwise the capillary action will not work properly if the glass-sandwich is not heated up.)