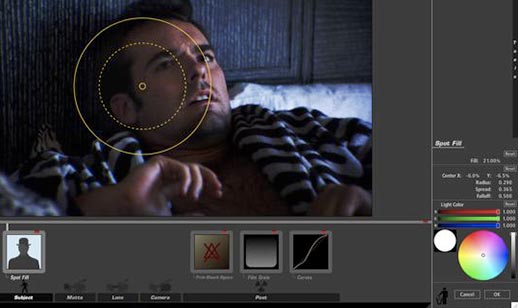
Click on the Subject tab, and look through all of the tools. Dragging the ‘Spot Fill’ tool into the work area below your frame will get you started. From there, you can adjust the size of the light, the shape, the throw amount, and the feathering. Just put the cursor over any part of the circle, and you can drag it in to make it smaller, or out to make it larger. You can also adjust the color temperature of the light, and the brightness by using the simple adjustment tools in the lower right corner of the Looks Builder. The plug-in allows you the ability to set the light outside of the frame, as though you were setting a light on set, or focus it directly on a specific area. This is very helpful if you just don’t have the accent you want on a certain area, or not enough eye light. An issue I had throughout the series was edge vignetting (ie darkening around the edges due to lens curvature), so I was able to remove that problem by adding a light.
Using the Spot Fill tool.
Adjusting the fill amount.
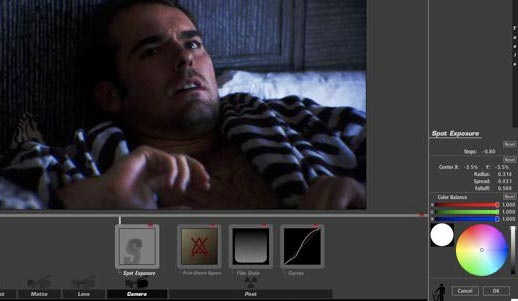
Conversely, if you have something that is too bright, or you want to decrease the look of your depth of field, you can remove a light. It works just like the interface you use to add a light, with the opposite results, of course. Drag the 'Spot Exposure' tool into the work area, and adjust it in the same way you would with the "Spot Fill' tool.
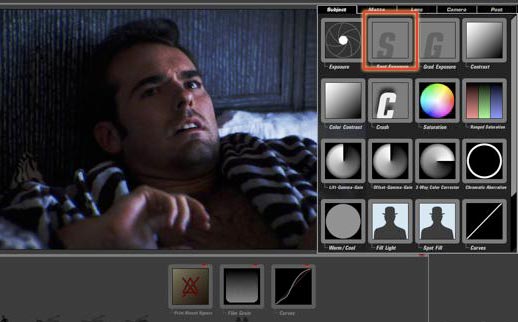
Grab the Spot Exposure tool.
Decreasing the exposure of the same area gives a stronger contrast.