This tutorial will guide you through the process of
creating automatic weapon muzzle flashes in EffectsLab. For
automatic weapons, you don't always want to have to manually
place every single muzzle flash, so EffectsLab can simplify
the process for you. For the purposes of this tutorial you can
use your own movie clip, or download this short example file
from Fxhome.com:
http://fxhome.com/effectslab/tutorial_movies/muzzleclipmpeg4.mov
(Quicktime mpeg4)
Getting started:
Load EffectsLab and select New Video Project from the
welcome screen.
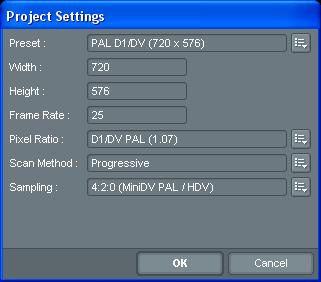
Select the bare muzzle flash clip as your background plate,
and check the settings:
Drag a muzzle flash effect from the effects browser onto
the timeline to begin. The default muzzle flash will appear in
the middle of the canvas.
Use the crop tool to alter the length of the effect as
required. If you are using the example file, stretch the
effect to the full length of the clip.
Textures
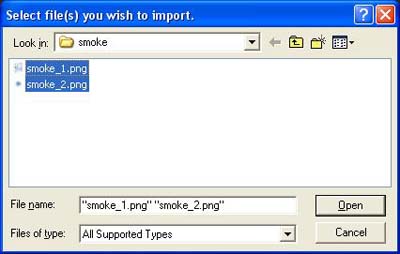
The first thing we want to do is import some more
interesting textures. Hit the blue 'Import texture' button in
the toolbox, then locate and select the smoke_1 and smoke_2
textures in the EffectsLab/textures/smoke/ folder and the
blobby_glow_1 texture from the EffectsLab/textures/ folder.
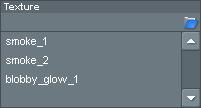
The new textures will appear in the texture
browser:
The muzzle flash is now much more exciting. The appearance
of the muzzle flash is determined hugely by the textures.
Different combinations can create wildly different
results.