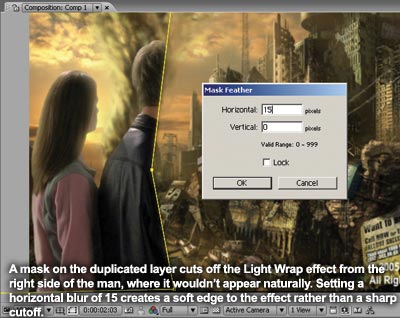
Now, the one part of this picture that isn’t right is the light wrap on the right side of the young man. Let’s fix that. Unfortunately, zMatte doesn’t have any built-in way to control the region of the light wrap, so we’ll have to do with another layer and an After Effects mask.
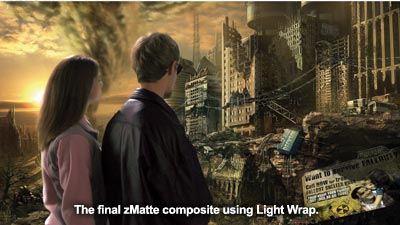
Duplicate the ruins_gr.mov layer. Select the original (lower) layer and turn the Light Wrap effect Off completely. Now, select the topmost layer with the Light Wrap still applied. Click the footage in the comp window and select the mask. Make sure the mask shape is set to Bezier, and then add nodes using the Pen tool to create a mask that cuts the man in half vertically, making his right half invisible in this layer. Set the mask feather to 10 or 15 horizontal. Now, when the layers are all visible, the Light Wrap effect will be eliminated on the side of the man away from the sun.
If the underlying layer adds an undesirable dark edge to the Light Wrap areas, you may need to shrink the matte in the underlying layer by a single pixel.
In some compositing programs, you can deal with a problem shot by using an edge matte and a core matte and then compositing them. You can do that inside zMatte by activating the secondary matte. Usually this will be used as a core matte, and composited onto the primary matte using a process such as Screen or Maximum (Lighten).
(Printed with permission from Focal Press, a division of Elsevier. Copyright
2007.
"Bluescreen Compositing: A Practical Guide to Video and Moviemaking" by John Jackman. For more information about this book, please visit: http://www.focalpress.com.)