 If you’re working with still photography, it’s often necessary to cut someone out of the background to place them into a new scene or to add special effects. While there is no specific “Chroma Key Tool” that is built into Photoshop, it still has great tools for removing the background and other elements from an image, non-destructively.
There are plug-ins on the market to make the job easier and faster. Do they work better than Photoshop’s own tools? They do not work better than Photoshop, but they can make great companion tools to Photoshop’s integrated tools to help you key problem areas and in the end reach a better result. Here are some tips to get the best results before you actually begin to key.
Non-destructive is the keyword.
Using the Eraser tool or deleting areas of the image is a destructive method of editing. Once it’s gone, it’s gone. Sure you can go back to your original image to add elements back in that were deleted, but that’s a Band-Aid for fixing things that were originally done in an inferior manner.
I use the Photoshop Selection Tool and layer masks to non-destructively remove elements from a shot. Masks can be blurred to soften individual areas and edges. Minimum or Maximum can be used to get in closer or move the edges out.
The Pre-Process Steps
As with video, you will need to take care of a few things before you key. Some of the pre-process steps that can be carried over from video production are noise reduction, smoothing the green screen, and creating “garbage mattes”.
Noise and Grain Reduction
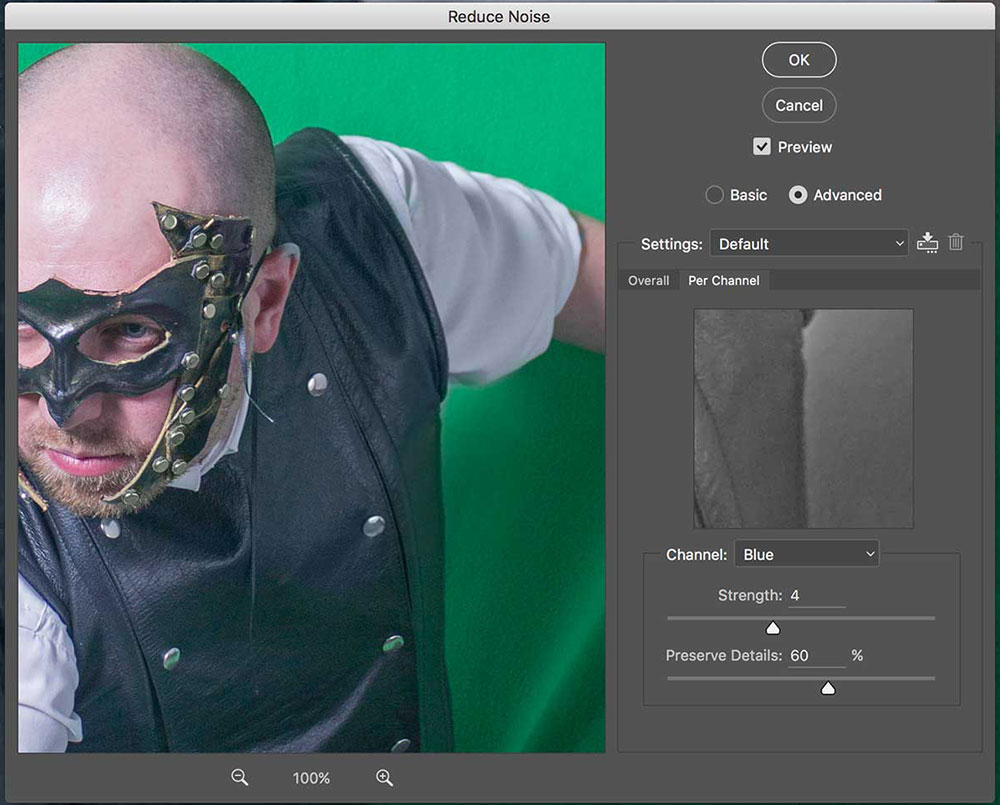
Noise and grain can be created from many sources. If your photo was shot in low light, you will probably have grain. Noise can also be created by compression from your camera or your software. Noise/grain reduction tools will often put a slight blur on your image to hide the noise. You want to be careful not to use the noise reduction tools too heavily and blur the detail in your footage. Noise and grain often exist more prominently in the blue channel, and some tools will allow you to remove noise per channel, reducing the amount of blur in your red channel, where you’ll find skin details. Just use a light touch with any noise reduction or blurring tools.
Photoshop has a built-in noise reduction tool (Filter > Noise > Reduce Noise) that supports per channel noise reduction. I’ve noticed that I can’t really see the noise reduction taking place in the popup window for the filter, however, the effect is fairly strong once it is applied.
Another tool that I highly recommend is ABSoft Neat Image. I’ve used their video counterpart, ABSoft Neat Video Pro and it’s my favorite noise reduction tool on the market.
Grain can be a very attractive and natural in Photography so when you’re compositing your shot, you may want to add film grain back into your shot. More on that in the second article, when I cover compositing.
Crop and Position your Image
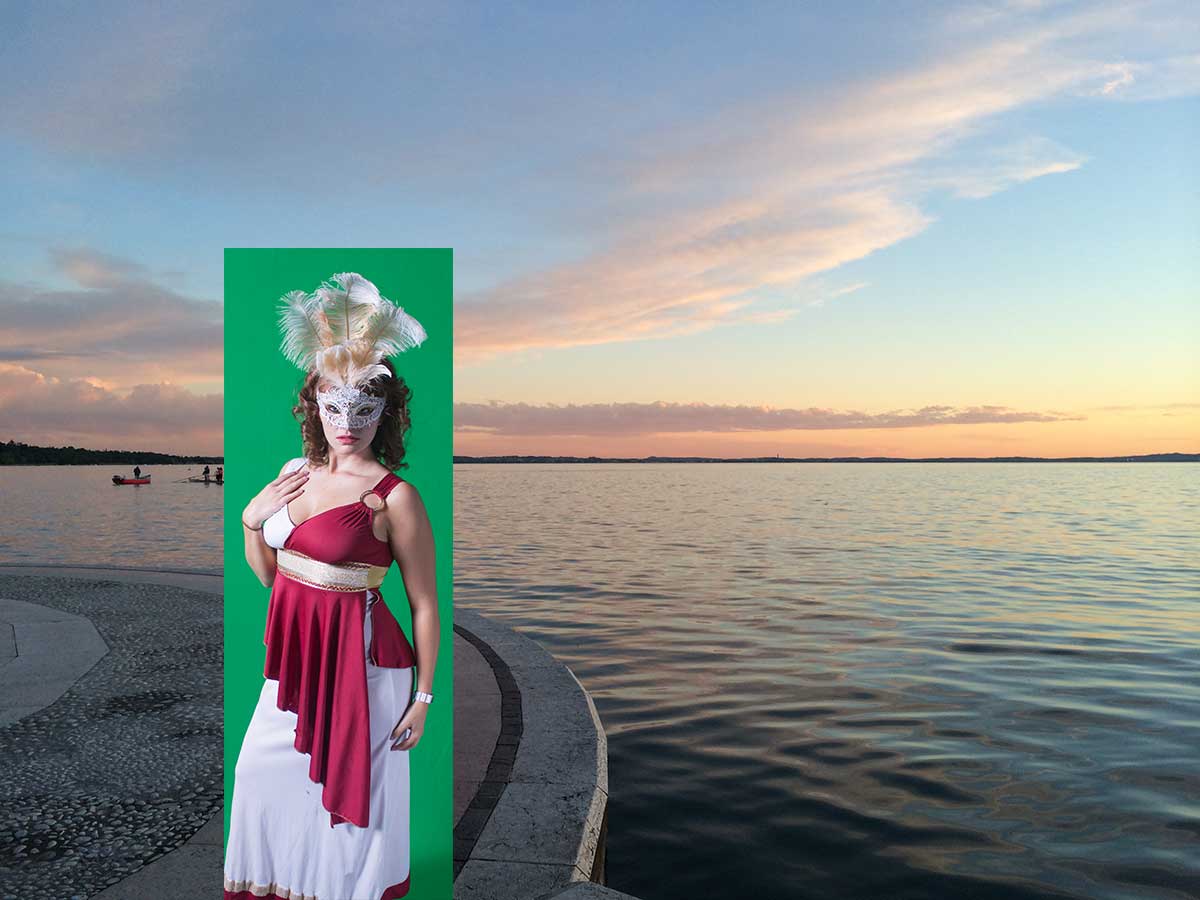
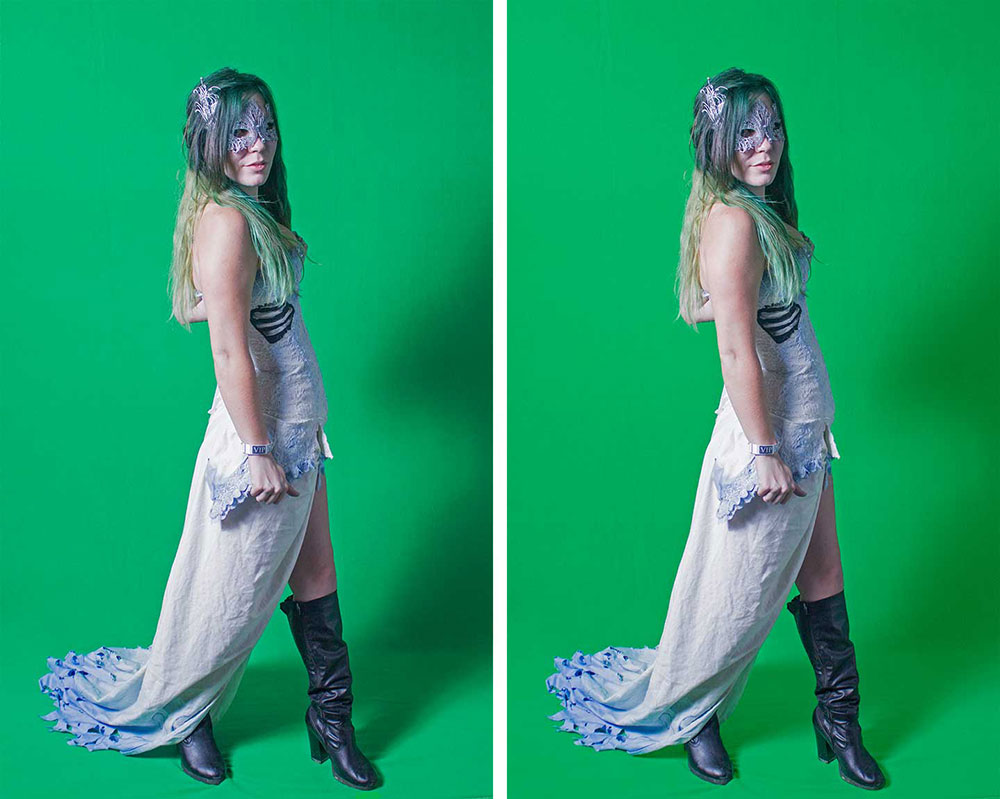
Crop and position your image to the final size before you put too much work into it. (Model: Ariel Bug)
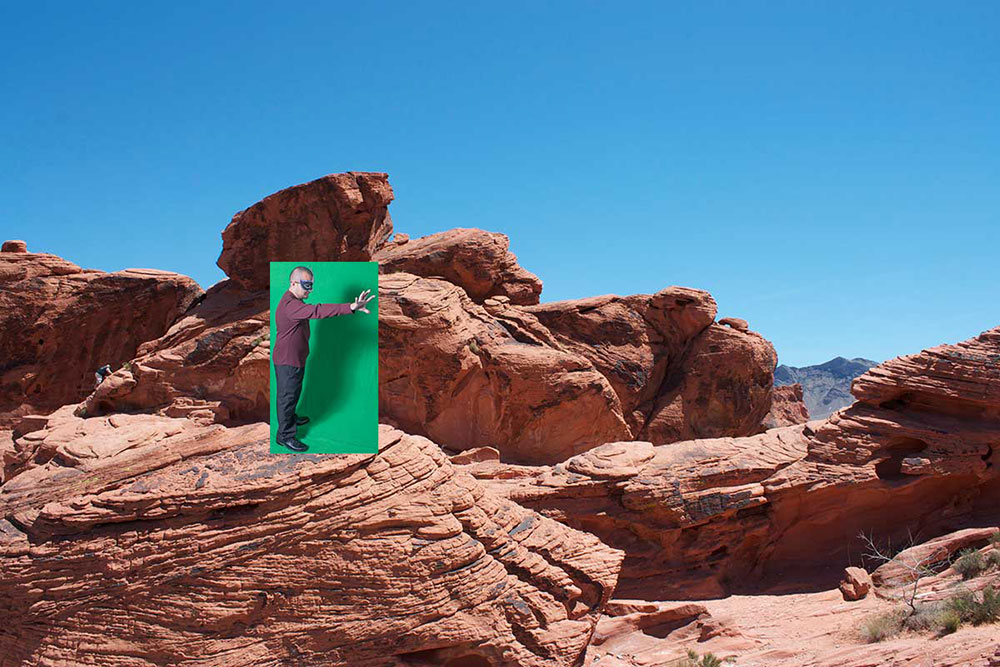
If your green screen image is a full body shot but you are only showing your model from the waist up, why bother doing a bunch of unnecessary work? Position your green screen layer over your image and crop. One thing that I do not recommend doing is scaling your image before keying. You want to keep the highest quality image possible before you key. You can always position and scale a copy of your green screen image, just to get an idea, and then work with a large image. Once you key, you can place the keyed layer on your background.
Smoothing out the Green Screen
In Photoshop, I recommend that you even out your green screen first, before you try to pull a key. There are some great tools to do this in After Effects, but none that I know of in Photoshop. It’s easy enough to do this without any third-party plug-ins, though. Select your green areas and use Image Adjustments (Levels, Curves, Hue/Saturation, etc.) to even out the contrast, or add additional layers with layer modes to make the green area more consistent and even out the shadows. It’s not necessary to have your green screen completely flat and shadowless. You don’t want to compromise your edges when smoothing the background either. As with noise reduction, don’t overdo it.
Garbage Mattes
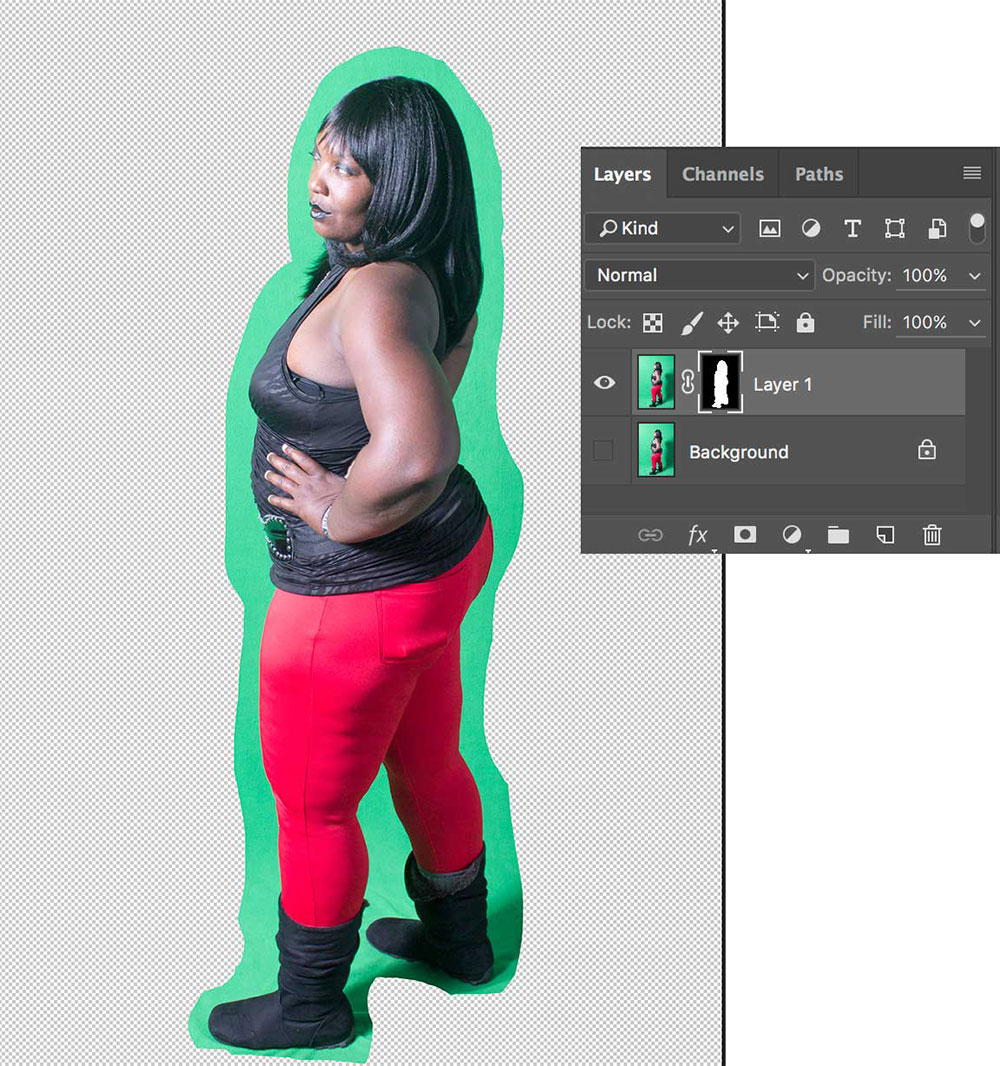
I’d also recommend removing as much of the unnecessary green screen, as well as gear, the edge of the green screen, and more. As I said earlier, I’m a big believer in non-destructive editing. With a layer mask, you can always paint elements back into your shot if you accidentally remove something that you need. Use the Lasso tool to isolate areas that you want to remove and then add use a layer mask to hide them. Don’t go too close to your image though. You want to leave some green around difficult to key areas, such as hair, fur, and semi-transparent area. If you don’t have enough green left to select, you won’t be able to key it.
Removing Spill
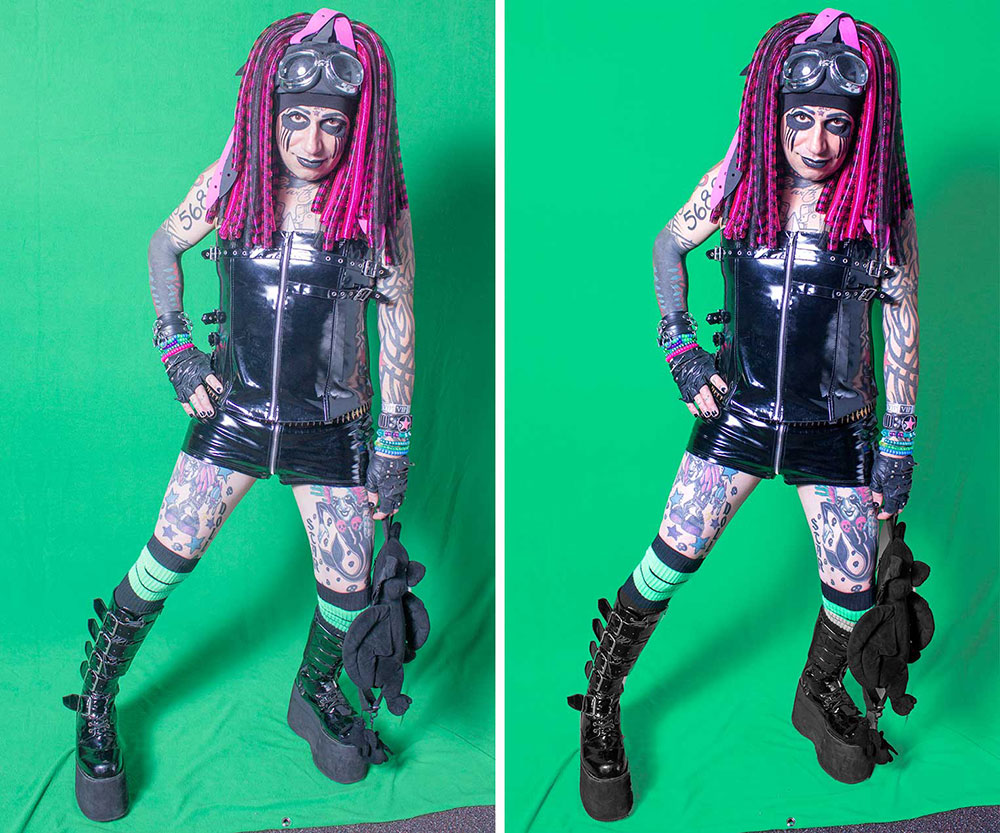
Spill is reflected green on your actor and their clothing and props. While a couple of the keying plug-ins that I’ll be talking about today include spill reduction tools, I don’t think any of them work all that well and they actually complicate the key. In many of the shots that I’ve used for examples in the article, the models are wearing shiny black vinyl which reflects the green screen strongly. The keying software seems to see these as areas to key instead of areas to leave in the foreground and remove spill from. If I were using After Effects, the workflow is different and I wouldn’t do this in the pre-process steps but after the key. Luckily, this is a very easy problem to fix in Photoshop and it benefits you to take care of it before you key.
In Photoshop, you can create a hold out matte by selecting the area that is the problem and copying it to it’s own layer. Alternately, it’s even easier to use the Paint Brush tool. Simply, use the eyedropper to select an area of the material that isn’t reflecting green, or the color that you want the area to be. Then, set the Mode of the Paint Brush to Color.
Carefully paint over the areas where there is spill. Yes, technically this is not a non-destructive process. There are other ways to do this by adding layers, but this simplifies the process and will help you with your key as well. This “destruction” is worth it.

Left: Original shot. Right: Spill removed from buttons and other reflective areas. (Model: David Pitstick)
Color Correction
I will often do a little color correction before I pull a key. This includes white balancing a shot and fixing light color that is off. I’ll also adjust levels to juice up the shot if the lighting is flat. Often, you can use Curves or Levels to help your actor or foreground image pop out of the green screen a bit, making it easier to key.
Part 2: The Keyers
In Part 2, we’ll talk about keyers and other background removal tools. I’ll give you some best practices for removing backgrounds. Stick around for part 2 in February!
If you’d like to learn more about green screen in motion video, as well as numerous tips that are applicable to both motion and still photography, be sure to check out the book I co-wrote with Jeremy Hanke on the subject at the Green Screen Made Easy website and follow us on our GSME Facebook.
Special thanks to DarkestGoth Magazine and their new Green Screen Art Experience for helping us get all these great photos to work with.

Trackbacks/Pingbacks